
Color streaking in cable extrusion is one of those defects that looks minor on the surface, yet quietly destroys yield, consistency, and customer trust. The challenge is that streaking rarely has a single cause — it usually comes from a mix of material, temperature, screw design, and die-flow behaviors all happening at the same time. For factories running PVC, PE, XLPE, TPE, or LSZH compounds, eliminating streaking requires a structured approach rather than random parameter tweaking.
Below is a practical, engineering-focused guide based on what real cable factories experience on the floor and what stable extrusion lines typically get right.
1. Understand What “Color Streaking” Really Means
Most streaking falls into four categories:
• Pigment dispersion streaks
Caused by poor mixing; you’ll see long, continuous stripes.
• Thermal degradation streaks
Dark or burnt lines due to overheated compound.
• Flow pattern streaks
Irregular lines caused by dead zones in the die or uneven melt distribution.
• Contamination streaks
Random color impurities from previous material or char deposits.
Correct diagnosis is half the solution — each type points to different root causes.
2. Fix the Material Side First (It Solves 60% of Streaking Cases)
a. Masterbatch dispersion quality
If pigment isn’t fully dispersed, the extruder cannot fix it.
Checklist:
Masterbatch carrier must match the base resin.
Pellet size should be uniform (2.5–3 mm ideal for small cables).
Use fresh material; old pigment tends to clump.
If your supplier’s dispersion index is unstable, streaking will repeat no matter how much you tune the machine.
b. Proper mixing ratio
Overloaded pigment = streaking.
Typical range for cable-grade PVC/PE: 1–4%.
Don’t adjust pigment ratio to “fix” streaking — it doesn’t work and creates long-term color drift.
3. Stabilize the Temperature Profile
Temperature imbalance is one of the most underestimated causes.
a. Zone temperature balance
Your melt should flow as one unified body. If Zone 1 is too cold and Zone 3 is too hot, streaking becomes unavoidable.
General rules:
Avoid temperature jumps >10–15°C between zones.
Keep head and die temperature slightly higher (3–5°C) than the main melt.
b. Check heater accuracy
A 10°C deviation on the controller may actually be 18–20°C on the real barrel.
Factories with fewer streak issues use:
independent thermocouple calibration
zone-by-zone infrared checks
annual replacement of aging heaters
4. Screw and Barrel Conditions: The Hidden Variable
Color streaking rises significantly when the screw loses mixing efficiency.
a. Screw wear
A worn feed or compression zone reduces shear → pigment doesn’t blend.
Inspection indicators:
Output fluctuates
Pressure unstable
Melt temperature swings
b. Wrong screw design for the material
PVC needs low shear; PE/XLPE needs strong melting; LSZH needs gentler, uniform heating.
If you run multiple materials on one screw, streaking becomes common.
c. Contamination inside the screw
If old char or degraded polymer accumulates in the mixing section, it releases dark streaks.
Maintenance:
Purge regularly with cleaning compound
Avoid long idle runs at high temperature
Schedule monthly screw-pull for small-size extrusion lines
5. Die and Flow Path — Where “Invisible” Problems Live
Color streaking often originates in places operators can’t see.
a. Die flow imbalance
If melt enters the die asymmetrically, pigment-rich melt and pigment-light melt exit unevenly.
How to diagnose:
Remove the die
Check melt cone symmetry
Look for burn marks or cold spots
b. Dead corners in the tooling
Any sharp corner creates stagnation. Even 0.1 mm misalignment in the die leads to discoloration streaks.
Best practices:
Polish the die flow path
Use streamlined angles
Re-center crossheads after every tooling change
c. Color contamination from previous runs
Common when switching between dark and light colors.
Cleaning sequence:
Run high-viscosity natural PE/PVC
Inspect breaker plate
Remove residual pigment inside adapter
Reheat and flush again
6. Stabilize Melt Pressure to Prevent Flow-Based Streaking
Color streaking often follows pressure fluctuations.
Indicators:
Pressure wave patterns in the trend graph
Inconsistent diameter
Melt fracture or sharkskin on the surface
Stabilization steps:
Maintain constant screw RPM
Avoid aggressive puller acceleration
Check screen changer for blockage
Inspect pump for wear (if using gear pump)
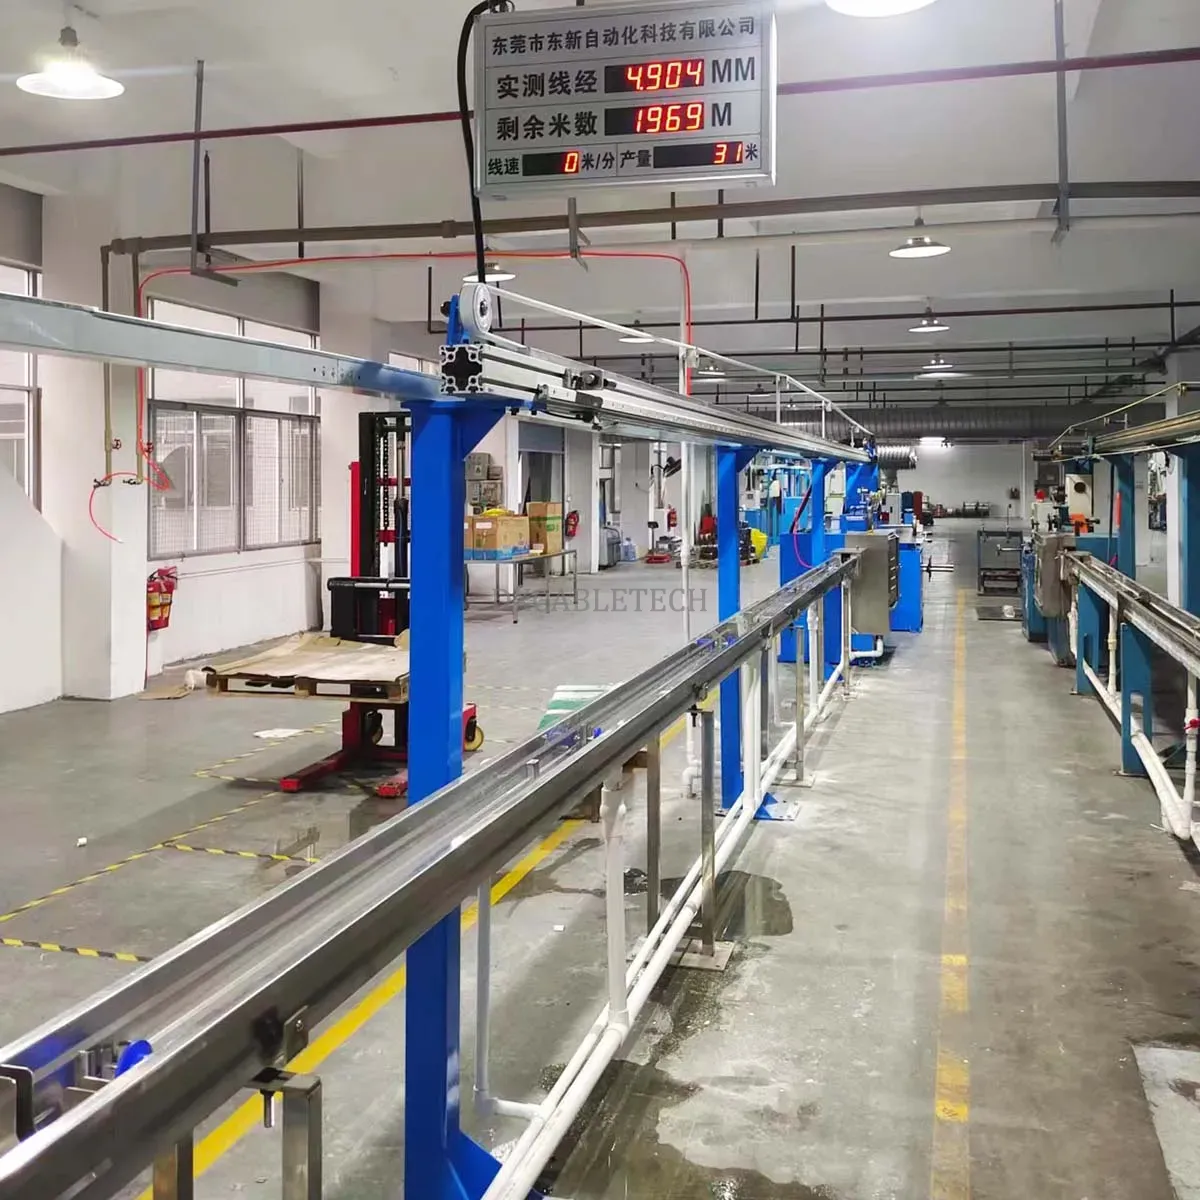
Factories producing USB cables, automotive low-voltage wires, and communication cables rely heavily on closed-loop diameter + pressure control to hold stability.
7. Cooling and Line Speed Matching
Even if the melt is perfect, color streaks appear when cooling or pulling is unstable.
a. Puller speed must match extrusion output
If the puller “hunts” (micro-oscillation), streak lines stretch or compress.
b. Cooling water must be stable
Sudden cooling turbulence distorts the hot surface, making internal swirl lines visible.
Optimize by:
Using a laminar-flow cooling trough
Maintaining consistent water temp (18–22°C)
Avoiding air bubbles inside the tank
8. When Should a Factory Upgrade Equipment?
You can tune parameters forever, but if any of the following conditions exist, streaking won’t disappear:
Screw older than 2–3 years and visibly worn
Heater bands fluctuating >8°C
Crosshead alignment inconsistent
Puller with unstable torque
Cooling tank without flow control
No diameter laser gauge or pressure feedback system
Factories that run high-speed or color-critical cables (USB, data cable, automotive low-voltage) typically upgrade to:
Closed-loop extrusion lines
High-precision crossheads
Automatic screen changers
Servo pullers
Laser measuring systems
Vacuum cooling systems
These drastically improve color uniformity and reduce scrap.
Explore our complete extrusion line setup for consistent cable quality.
Final Thoughts
Color streaking is a symptom — not the problem. When you break it down systematically (material → melt → screw → die → line speed → cooling), the root causes become clear and fixable.
Cable factories that solve streaking consistently follow three principles:
Control the melt, don’t chase the surface.
Maintain clean, optimized tooling and screw conditions.
Use stable, feedback-controlled extrusion equipment.
With the right structure in place, color uniformity becomes repeatable instead of random — and customers notice the difference immediately.
Explore the complete cable manufacturing system:
→ Cable Manufacturing Process & Equipment Guide